Solar power will certainly decrease the cost of electricity, and the future will be more sustainable. It not only helps homeowners reduce their electricity costs but also makes available an Eco-friendly energy source for their homes. If you’re considering installing a Rooftop Solar System For your Home, this step-by-step guide will help you understand the process.
Step 1: Estimate Your Energy Demand
Before putting up a solar panel installation for your home, you have to assess your energy demand. Just check your electricity bills and calculate how much power you consume. This will allow you to decide on the proper capacity of solar panels to choose and maximize your investment.
Step 2: Inspection and Review of Roof Top
Not every roof is fit to host a solar panel system. A flat angle or partially shaded, inadequate space – in such scenarios, efficiency becomes poor. Hence, it requires proper analysis before final installation from an experienced solar installer by conducting site inspections, and rooftop evaluation for efficient production.
Step 3: Select Quality Solar Panels and Equipment
Good quality solar panels, inverters, and mounting structures are important to ensure long-term performance. Among the most common types used in the home solar panel installation guide are monocrystalline and polycrystalline panels. Before buying the panels, make sure to look at the efficiency, durability, and warranty of the panels.
Step 4: Obtain Necessary Permits and Approvals
In many regions, you need approval from local authorities before installing a rooftop solar system for your home. Your installer will typically handle permits, but it’s good to be aware of the regulations and any government incentives available for solar adoption.
Step 5: Installation Process
Once the permits are in place, the Solar Panel Installation Steps can begin:
- Mounting the Structure: A firm frame is installed that holds the solar panels securely.
- Install the Solar Panels: Place them and fasten the mounting frames on them carefully.
- Wiring and Connections: The system is connected to an inverter that converts solar energy into usable electricity.
- Battery and Grid Connection: According to your arrangement, you either connect it with the power grid or with a battery.
Step 6: Inspection and Testing
The professionals inspect the system to check whether it is safe and functions according to standards. They test energy generation and connectivity to ensure optimal efficiency.
Step 7: Net Metering and Activation
Net metering for grid-connected systems enables homeowners to feed excess electricity back into the grid and receive credits. Your utility provider will install a net meter, which allows you to track your energy usage and savings.
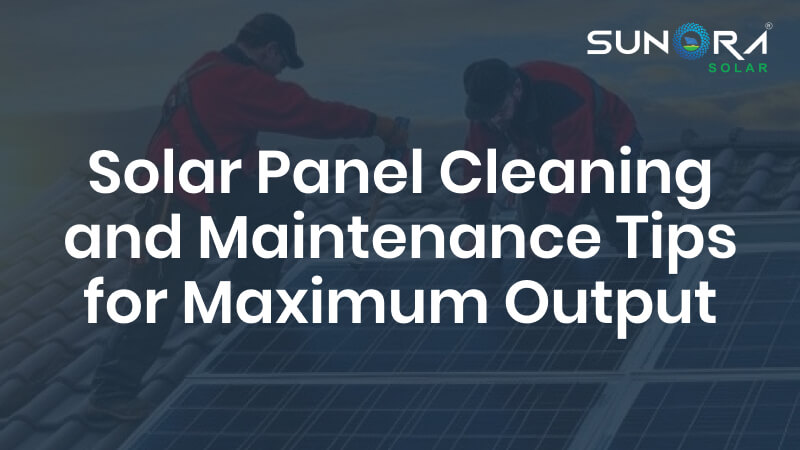
Step 8: Maintenance and Monitoring
A well-maintained solar system will ensure maximum efficiency and longevity. Clean the panels regularly, check for debris, and monitor energy output. Many homeowners wonder about DIY Solar Installation vs Professional Service—while DIY installation may seem cost-effective, professional installation ensures safety, efficiency, and warranty benefits.
Conclusion
Installing a solar rooftop installation for homes is rewarding, with long-term savings and sustainability. If you want to ensure that this transition into the use of solar energy goes off without a hitch, just remember these steps of solar panel installation. In case you have some doubts, get in touch with a professional solar provider, which will help you get the expert guidance you need and a hassle-free installation process.
Go solar today and experience a greener future!